Table of Contents
- 1. Use Microsoft 365 (M365) groups wherever possible
- 2. Create M365 groups using a test account
- 3. Turn off the Welcome email
- 4. Configure M365 group settings before adding users
- 5. Wait 24 hours before adding users to the group
- 6. Enable M365 groups Expiration policy
- Create M365 groups using PowerShell Set-UnifiedGroup
1. Use Microsoft 365 (M365) groups wherever possible
You can attach a Team to Microsoft 365 groups and use them as a Distribution list. This means you have one resource that includes Teams, email list, and a shared calendar.
M365 groups can also be used as Dynamic groups and delegated to a business owner to manage adding and removing people.
What are the advantages?
Simplified management. The IT team only has one M365 group to update or you can delegate group membership changes to the business.
2. Create M365 groups using a test account
Create M365 groups with only a test user account as a member. For dynamic groups, create a rule that selects only your test account.
Why create M365 groups using a test account?
You might want to change the M365 group default settings. Create the group and update the settings before adding users. That way you can be sure that users added to the group get the right settings.
3. Turn off the Welcome email
Disable the "Welcome to the Group" email
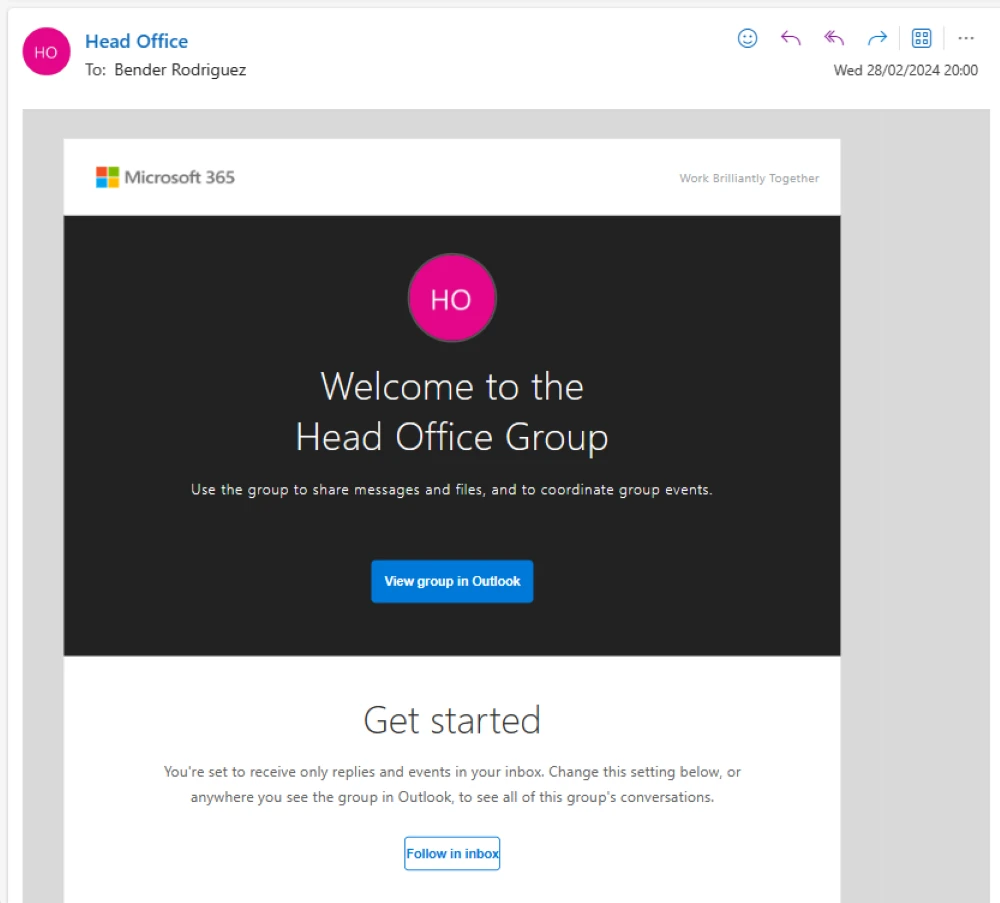
Why turn off the Welcome email?
The M365 group welcome email is not needed and can generate some “why am I getting this email?” questions. Sometimes people even think it’s a scam or phishing email. Just turn off the welcome email, especially if you are creating a group containing a lot of people.
4. Configure M365 group settings before adding users
Check the M365 group default settings and update them before adding any users. Same goes for Dynamic groups. Create a test rule that selects only one user account and configure the group before updating the rule to select your target users.
Why update group settings before adding users?
You should set the options to turn off the welcome email and auto subscribe new members before adding anyone to the group. Otherwise you might have problems where people are group members but not “subscribed” so they don’t get any emails sent to the group.
5. Wait 24 hours before adding users to the group
You should wait 24 hours before adding anyone into the group, especially it is a large group and you want to make sure the welcome email is disabled.
Why wait before adding users?
According to Microsofts docs, changes could take anywhere from 30 mins to 24 hours to update. Depending on the type of group and the size of your Entra ID org. In practice, M365 groups usually update within 30mins
If you're creating a large group and want to make really sure that Welcome email is turned off, I'd recommend waiting 24 hours.
6. Enable M365 groups Expiration policy
Entra ID - Groups - Expiration
Group lifetime days: 730 (2 years)
Email contact for groups with no owners: itadmin@domain.com
Enable expiration for these Microsoft 365 groups: All
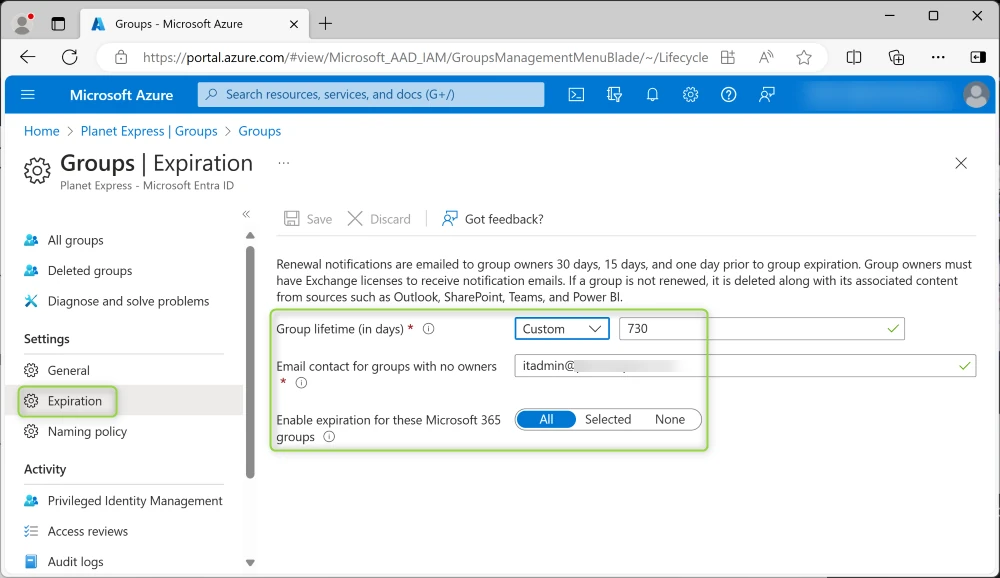
Why set an Expiration policy for M365 groups?
An expiration policy for M365 groups can be used to remove old unused groups and Teams. Groups that are in use are automatically renewed and email notifications get sent to group owners when groups are going to expire.
You can read more about M365 group expiration here:
Microsoft 365 group expiration policy
https://learn.microsoft.com/en-us/microsoft-365/solutions/microsoft-365-groups-expiration-policy
Create M365 groups using PowerShell Set-UnifiedGroup
PowerShell Set-UnifiedGroup options
| Option | Notes |
| AutoSubscribeNewMembers | Group members will receive copies of team emails in their inboxes |
| HiddenFromAddressListsEnabled:$false | M365 group is visible in address lists |
| HiddenFromExchangeClientsEnabled:$true | M365 group is hidden in Outlook client |
| UnifiedGroupWelcomeMessageEnabled:$false | Disable sending the system welcome messages to users when they are added to the group |
Connect to Exchange online PowerShell
# Connect to Exchange Online
Connect-ExchangeOnline -UserPrincipalName admin@yourdomain.com
Example: Turn off M365 group Welcome email
# define variable for M365 group name
$GroupName = "Head Office"

# Disable the welcome message
Set-UnifiedGroup -Identity $GroupName -UnifiedGroupWelcomeMessageEnabled

# Check if welcome message enabled
Get-UnifiedGroup -Identity $GroupName | Select-Object Name, DisplayName, PrimarySmtpAddress, WelcomeMessageEnabled
Example: Auto subscribe new members
# define variable for M365 group name
$GroupName = "Head Office"

# change m365 group settings
Set-UnifiedGroup -Identity $GroupName -AutoSubscribeNewMembers

# Check if autoSubscribe enabled
Get-UnifiedGroup -Identity $GroupName | Select-Object Name, DisplayName, PrimarySmtpAddress, AutoSubscribeNewMembers
Example: Show group in global address list and hide from Outlook client
# define variable for M365 group name
$GroupName = "Head Office"

# change m365 group settings
Set-UnifiedGroup -Identity $GroupName -HiddenFromAddressListsEnabled:$false -HiddenFromExchangeClientsEnabled:$true
Example: Configure M365 group as a distribution list
Show in address lists, hide from Outlook client, turn off the Welcome email and Auto subscribe new members
# define variable for M365 group name
$GroupName = "Head Office"

# change m365 group settings
Set-UnifiedGroup -Identity $GroupName -HiddenFromAddressListsEnabled:$false -HiddenFromExchangeClientsEnabled:$true -UnifiedGroupWelcomeMessageEnabled:$false -AutoSubscribeNewMembers
References:
Overview of Microsoft 365 Groups for administrators
https://learn.microsoft.com/en-us/microsoft-365/admin/create-groups/office-365-groupsTroubleshoot and resolve groups issues
https://learn.microsoft.com/en-gb/entra/identity/users/groups-troubleshooting
Subscribe
Report